Designing a Wedding Welcome Mirror Sign
I love the mirror trend right now in wedding design. I've done a few seating charts, table numbers and menus. For Natasha & Tanner's July Lincoln, Nebraska wedding, she wanted a beautiful welcome sign on a mirror.
Count me in.
Everything I did for Natasha & Tanner's wedding was so beautiful, not to mention they're one of the most laid back couples I designed for this year.
This mirror was going to be fun to create and I love when couples give me things I can get my hands on and actually do work to...not just sit behind a computer and design (I love that too obviously).
Wanna know how I did it? Follow along because I took pics of what I did.
How I created a Wedding Welcome Mirror
Step 1: Design it
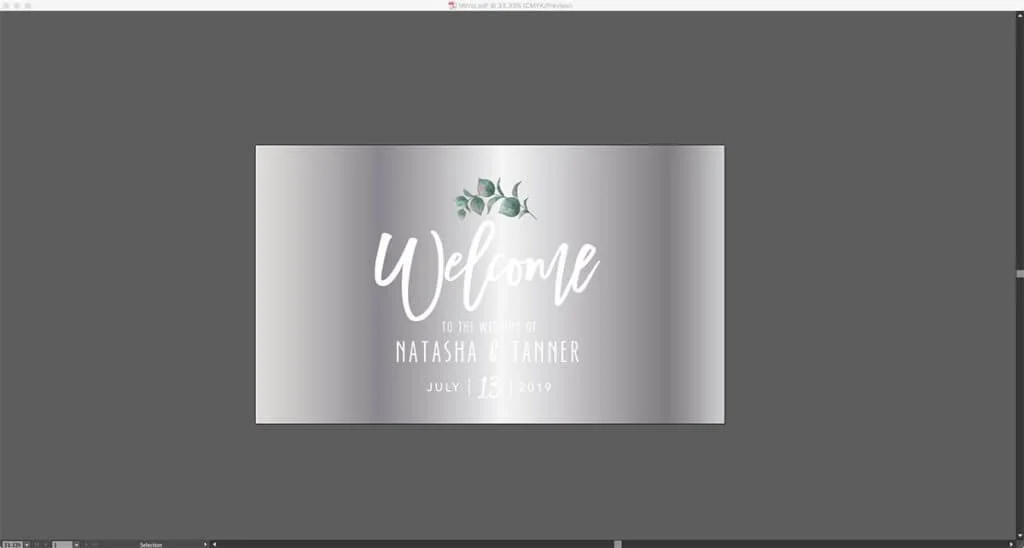
I design everything first in my design programs before I get started of course. For the mirror, just like everything else, I designed it in Adobe Illustrator. Using the fonts we used for their wedding invites, I put together their design, got it approved by the couple and then went to work.
Step 2: Cut it
I use a Silhouette Cameo for all my vinyl work and that's exactly what I used for the mirror. I convert my design over to Silhouette Connect and let my fancy machine do the work. I used a white vinyl for most of the design for their Welcome mirror.
Natasha wanted a bit of color on here, so I had to do something I've never done before...print and then cut. But with a quick YouTube tutorial, it was an easy process from my printer to the machine.
Step 3: Weed & Transfer
The Cameo did a great job and I was able to weed all the vinyl seamlessly. I applied transfer tape backing to the design so I can easily transfer it from the vinyl backing to the mirror.
Step 4: Apply to Mirror
This is the part that makes me nervous every time. I do a lot of prep before just slappin' on the design. I measure, make sure to know where my center point it, measure on my transfer tape where center is and use painter's tape to mark all those locations. The last thing I want is it to be slanted.
(confession: I did have to re-cut the date of the mirror twice because it was slanted the first time I put it on.)
I removed the backing, made sure everything was lined up and then laid it on the mirror.
Step 5: Remove Transfer Tape
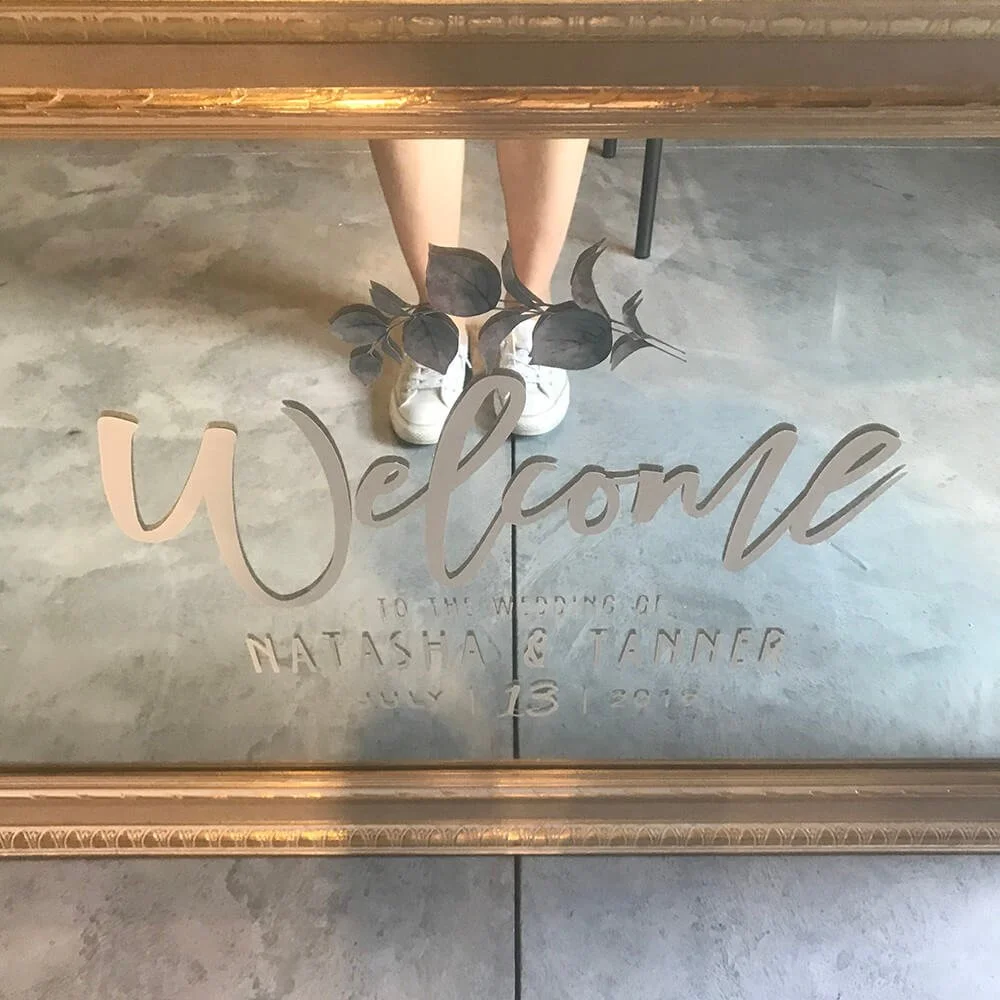
This has to be like having plastic surgery and removing the bandages for the first time (no, I don't know what that's like). But after you then remove the transfer tape, your masterpiece is there. And for this mirror, it looked fantastic.
I loved how this turned out and know I'll be doing a few more of these in the near future.


